Showing posts with label DIY. Show all posts

Tuesday, June 11, 2013

How to Make a Super Easy DIY Container from a Large Barrel

Since I was able to acquire a couple barrels, I wanted to make some large containers that I could use to grow my sweet potatoes and blue jade corn. I also used one of the barrels to make a composter.
Im not sure about other cities, but it is easy to find barrels of this size in NYC for about $30. It is important that it is food grade or has not been used before as you do not want to eat anything grown in something with trace toxic stuff hanging around.

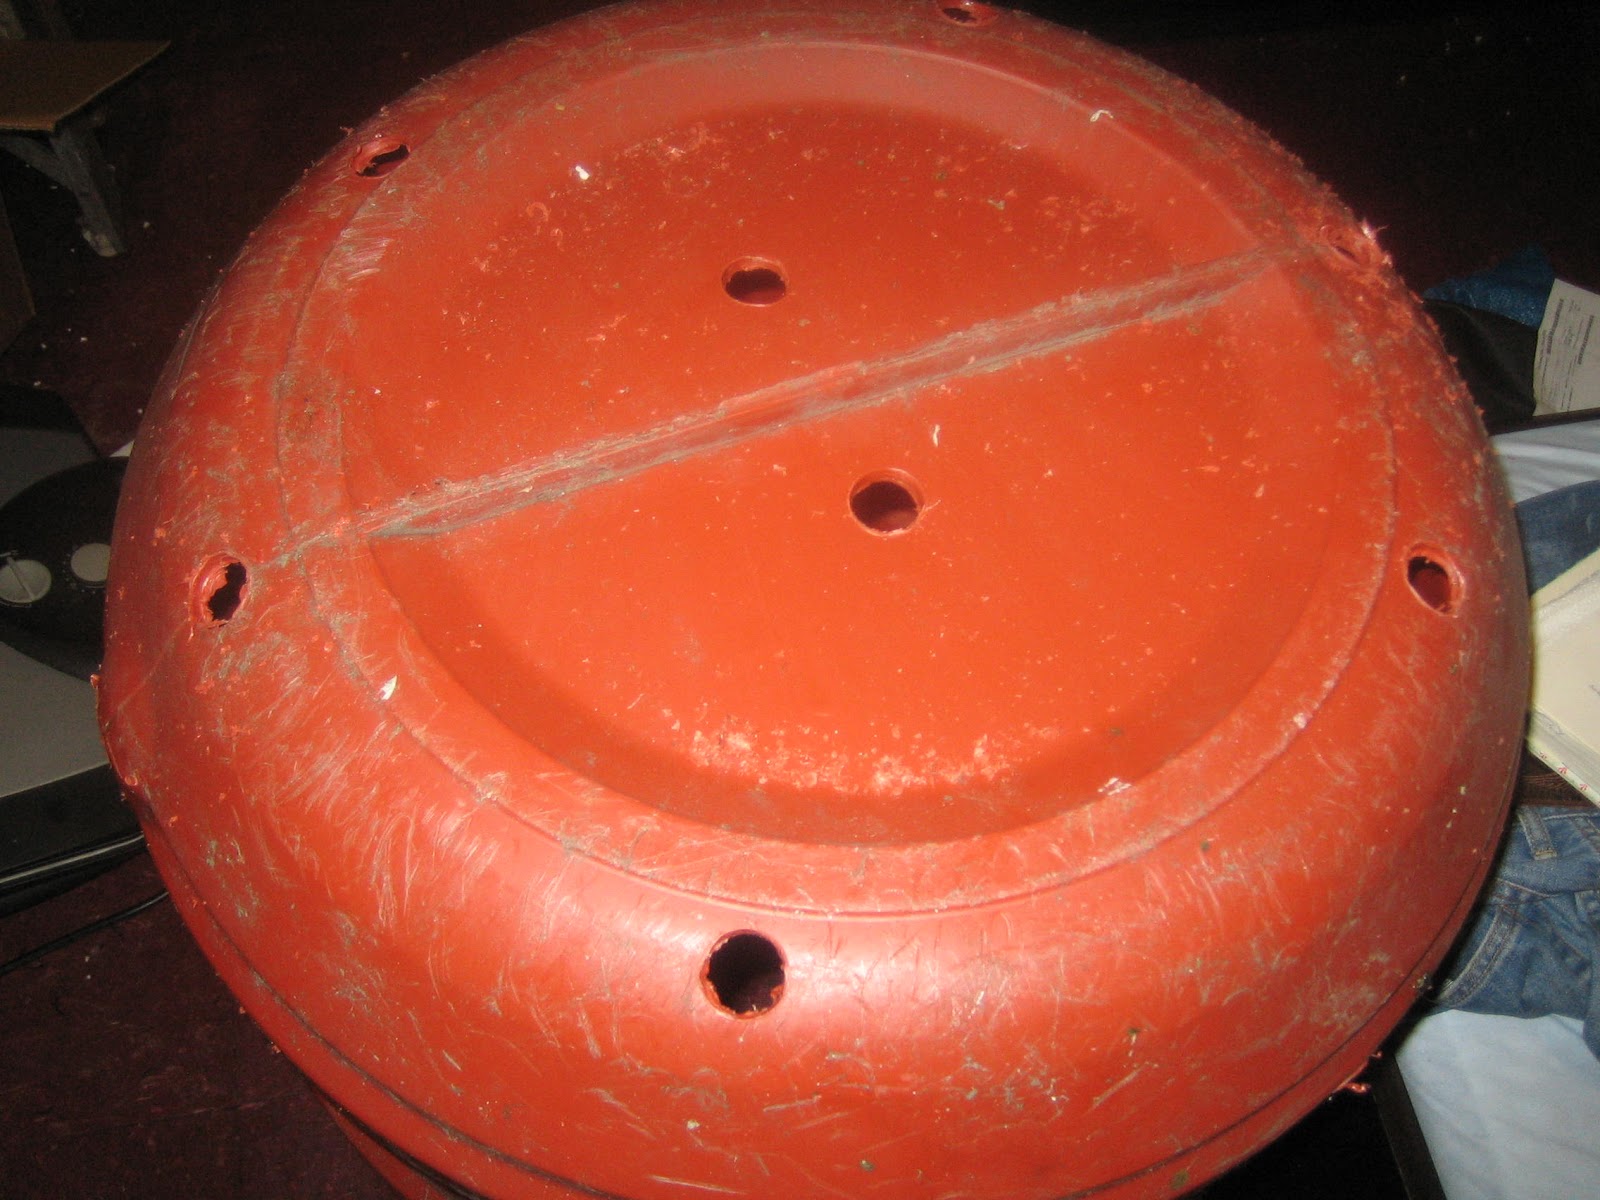
Finished product

DIY Containers from A Large Barrel

You will need:

- Drill
- Saw/jig saw
- Cleaning solution
- Measuring tape
- Protective eyewear

Steps:

1 - Use a cleaning solution to thoroughly clean both the outside and the inside of the barrel.

2 - Use measuring tape to find the middle point on the barrel.

3 - For my jigsaw, I needed to drill a hole on the line where I wanted to cut.

4 - Put on protective eyewear and carefully use the saw to cut the barrel in half.

5 - Carefully, drill 1-inch drainage holes in the bottom of the containers. I also like to do a drainage hole in the lower side of the container as well for extra drainage.

Notice the drainage on the side.

Hope this helps!
- Monti

Wednesday, May 29, 2013

Pepper Protection with an Easy DIY Organic Fungicide Spray!

One fact that every new gardener should know is that the mistake that most people make in the beginning is actually OVER-water rather than under-watering. Your plant only needs about 1 inch of water to get down to its roots every week. Indoors, this means that they should be able to go at least a week with a solid watering if you have them in an appropriate size container.

With peppers (and tomatoes and cucumbers and eggplants) the issue that we have to work out for is a fungus that emerges when the plant is in soil that is too wet. (I want to keep this blog jargon-free, but you can find a more scientific explanation and information here - http://vegetablemdonline.ppath.cornell.edu/factsheets/Cucurbit_Phytoph.htm) This fungus can rapidly spread from the leaves to the stem to the root. Once it has attacked the roots, it is game over for your plant and you could discard it and the soil.

It isnt all Debbie Downer news today, though. There is something that you can do most of the time. Be PROACTIVE. A simple spraying of the stem and leaves with a basic fungicidal spray after heavy rains are advised. The one that I make for my peppers and tomatoes is a little different from most that you will find online since I add a little garlic oil to keep pests away. The reason? Pests seem to be able to sense the weakness of your plant and will attack like crazy. The garlic oil should keep them at bay. Try the recipe below and let me know how it works.


EASY DIY Organic FUNGICIDE SPRAY

Ingredients:

- 1 tablespoon of Baking Soda
- 1 tablespoon of dish detergent (an organic soap is ideal if you are going to be eating the plants in question)
- 1 tablespoon of garlic oil
- 1 Gallon of water

Directions:

Simply mix the ingredients together and add to a sprayer. Spray directly to the tops and bottoms of leaves and stems after heavy rains. Should also be used at least once a week whether yall have had heavy rains or not.

Will update with images these evening.

Enjoy!
- Monti

(Updated on May 30th, 2013 to add image)

Friday, May 24, 2013

Super Easy DIY Compost Bin Using A Large Barrel

 This is a situation when my hardheadedness worked against me. All of my research suggested that I have two compost bins. One for collecting compost and one to "work." Of course, I didnt listen so now I have a bin that is humming along but with about a third of the stuff new items that are going to take far longer to finish. Hence, the need for a second compost bin (and an annoying task this weekend of stiffing through the first pile to take out the newest additions.

First compost bin. I happily acquired him for no cost from
someone on www.freecycle.org
New compost bin I made in less than 30 minutes. Minus the top
and the wooden pallet below.

As I "acquired" three large barrels, I wanted to use one to make a quick and easy compost bin in less than 30 minutes.

You'll need:


  1. Large "Food Grade" Barrel
  2. Cleaning Solution (I use vinegar, lemon juice, and peppermint soap)
  3. Drill
  4. 1-inch spade bit

Steps:


  1. Acquire your barrel. Food-grade is ideal, but as long as you know what was in it before and it was not toxic then it should be able to be used. Remember that anything in this bin will end up in your soil, which will end up in what you grow, which will end up in your body. Be smart.
  2. Wash your barrel inside and out with your cleaning solution.
  3. Using your drill and 1-inch spade bit drill from 5 to 10 holes in the bottom of the barrel.
  4. Drill 16 holes on the sides of the container.


   5. Drill 4 to 10 holes on the top of the barrel.

   6. Load up your new composter!


Final Tips:


One of the benefits of using a round barrel like this is how easy it is to lay it on its side and roll it around to mix everything around. If you are going to be using this on your roof, I advise that you elevate it in some way. Wooden pallets are always being left for trash pickup in Brooklyn so that's what I use.

Anyone else made their own bin? How did yall do it?

Happy Holiday (aka hardcore garden project) Weekend!
- Monti